Setting up your Hotel
This guide walks you through everything needed to get your property up and running: creating your account, completing your hotel profile, configuring rooms and contract defaults, and inviting your team.
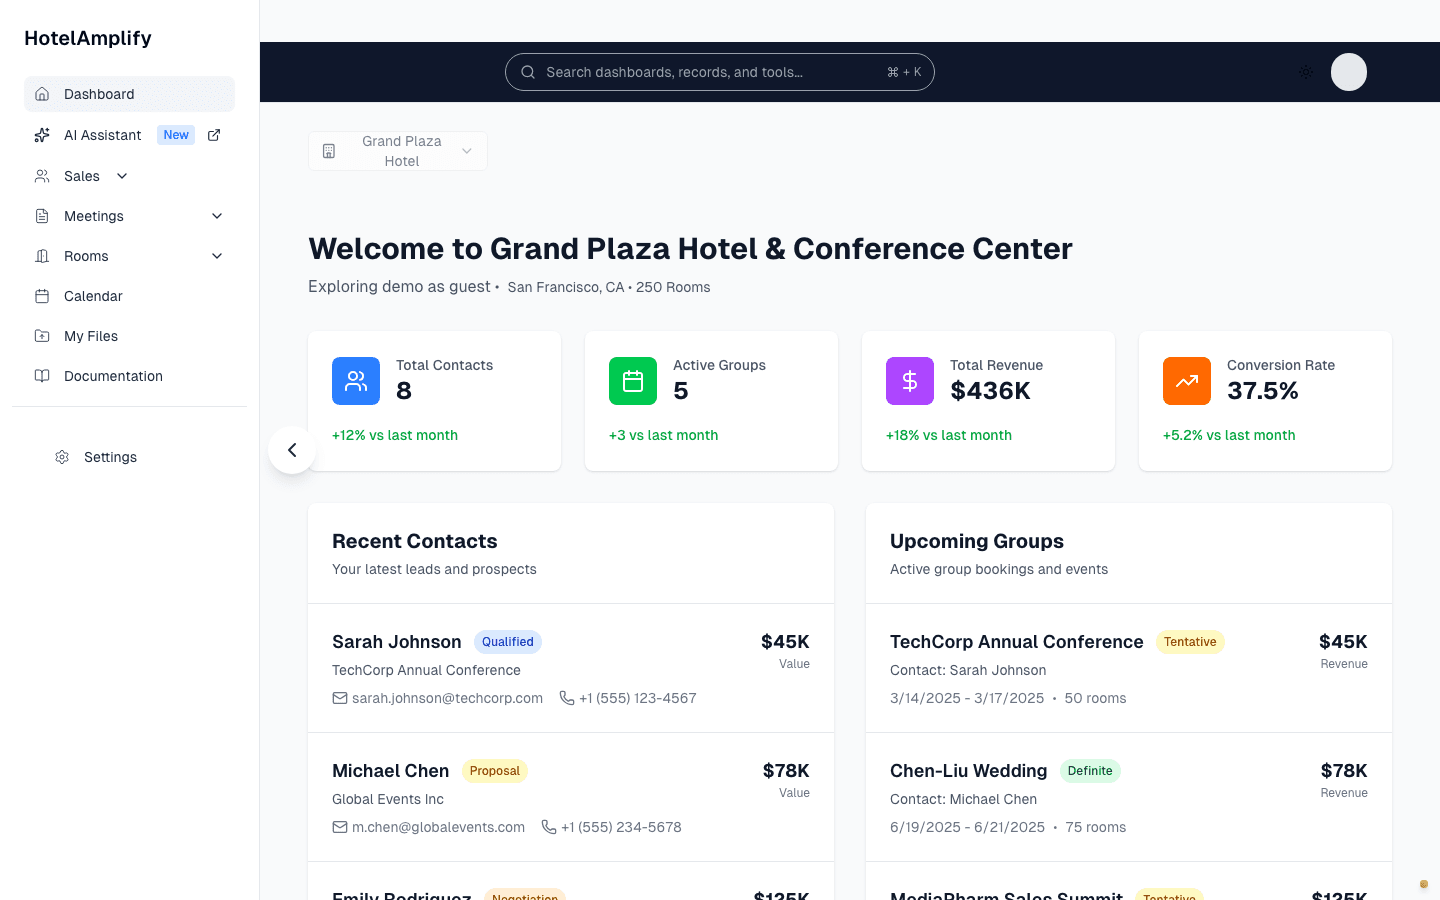
After setup, the dashboard gives your team one place to switch properties, review activity, and reach the main workflows.
Open in HotelAmplifyStep 1: Create your account
When you sign up, HotelAmplify collects the basics: your name, hotel name, email, and a password (at least 8 characters). You will also be asked two quick questions that tailor your dashboard:
- What you focus on - Sales & Events, Maintenance, or the full platform
- Your organization type - a single hotel, a hotel chain, or a management company
Your 30-day trial starts automatically - there is no checkout step between signup and the product. If you prefer, an AI-powered setup option can pre-fill your hotel details from your website; you can also enter everything manually.
Step 2: Complete your hotel profile
Go to Dashboard → Settings → General to fill out your hotel information:
- Hotel code - a short internal identifier for your property
- Address and phone number - used on contracts and documents
- Website - your hotel's public site
The hotel name itself is set during signup and shown as read-only here - contact support if it needs to change.
Step 3: Set up rooms and function space
The Rooms tab in Settings is where you define your inventory:
- Room types - the guest room categories used in group bookings and reports
- Function rooms - the meeting and event spaces used for BEOs and function bookings. Each room can be edited or deactivated as your space changes.
Step 4: Configure contract settings
In Settings → Contracts, set the defaults that appear on generated group contracts: your hotel's signatory name and title, plus the payment methods you accept. Setting these once means new contracts start with those defaults. Review each generated document before sending it.
Step 5: Import your data
The Data & Imports tab lets you bring in existing data so you are not starting from an empty CRM. Upload your accounts and contacts rather than re-typing them.
Step 6: Invite your team
Finally, add your colleagues from Settings → Users. See the User Management guide for details on roles and invitations.
Good to know
The General, Rooms, Contracts, Data & Imports, and Users tabs are only visible to Hotel Administrators. Everyone can see the Billing tab for their own subscription details. Each tab has its own URL (for example /dashboard/settings?tab=general), so you can bookmark or share a direct link to any settings section.