Sales & catering
Keep the people behind each account easy to reach
Contacts are the meeting planners, travel managers, couples, and decision-makers your team works with. Link each person to an account so conversations and group business stay connected.
Best for
Sales and catering teams
Time
3–5 minutes
Outcome
A complete contact linked to the right account
Before you start
- An account already exists, or the company details are ready
- The contact’s name and at least one way to reach them
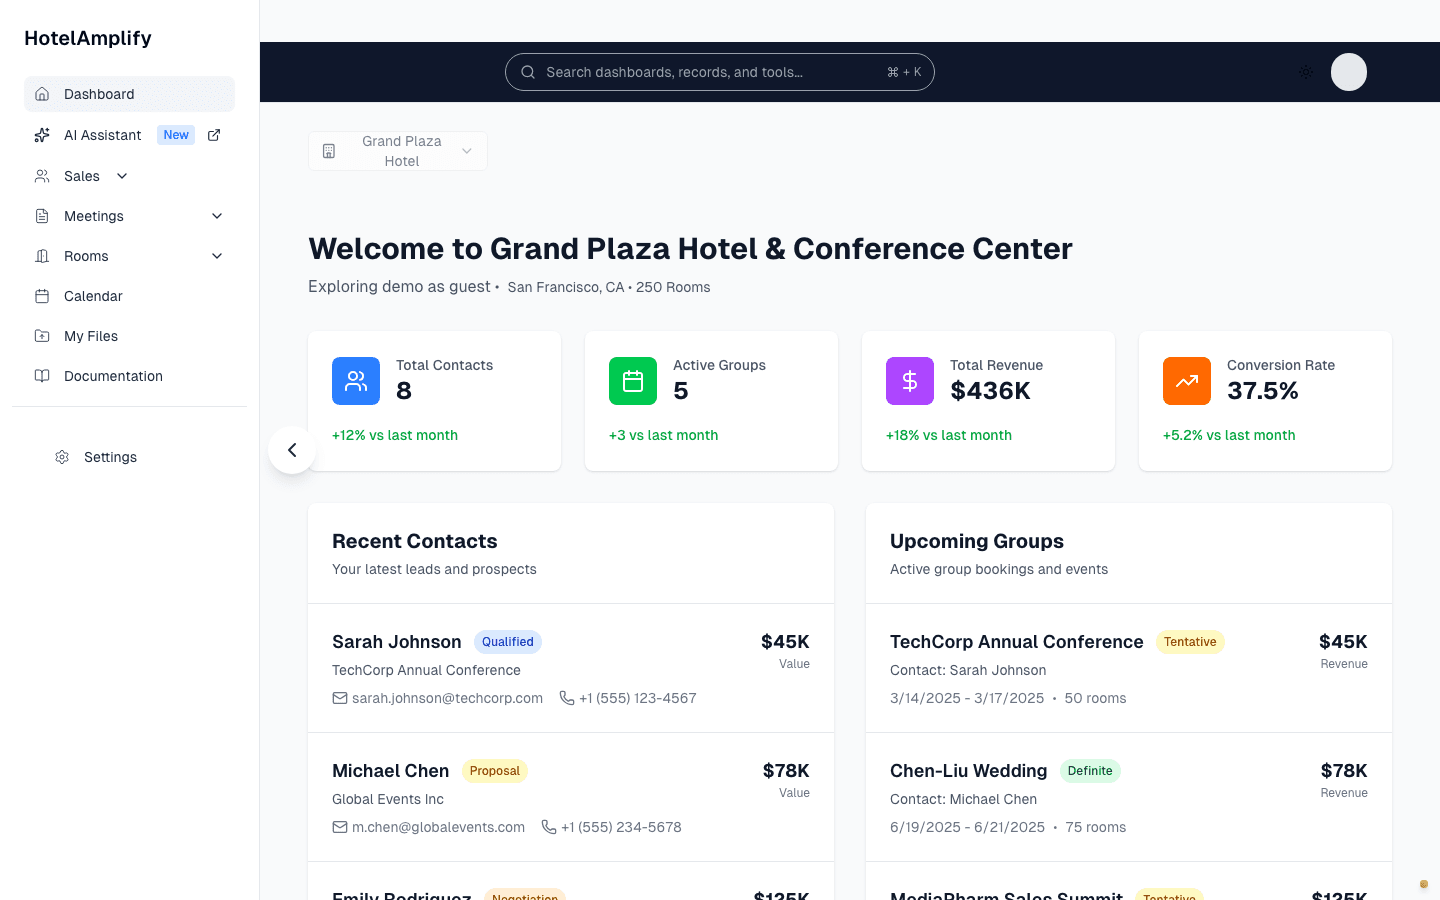
Keep contact details close to the account, group, and event records they belong to.
Open in HotelAmplifyAdd a contact
Open the Contacts workspace
Go to Sales → Contacts and select Add Contact.Enter the person’s details
Add the contact's First Name and Last Name, along with their Email and Phone when available.Add their role and account
Enter their Title, such as Event Coordinator or Director of Travel, then select the Account they belong to.Save useful context
Add Notes about preferences, history, or special requirements, then save the contact.
Use the Contacts table
The table shows names, email, phone, title, and status. Use Columns to show or hide additional fields, then open a row when you need to update the record.
- Search: match first name, last name, email, or phone number.
- Status: narrow the list to one status or choose All Statuses.
- Pagination: change the page size when you are working through a larger list.
- Export: download PDF, Excel (XLSX), or CSV using the current search and filters.
Use contacts in group work
When you create a group block, select the group's contact from this list. The group workflow can also let you create a new contact without leaving the form, but creating the account first keeps the relationship history organized.
You'll know it's done when
The contact has a clear account relationship, reliable contact details, and enough context for the next salesperson to continue the conversation.
Before deleting a contact
Deletion is permanent. Check the contact's related business first, and use the available status or account history when you need to preserve the relationship record.