Sales & catering
Create an account your whole sales team can use
Accounts represent the companies and organizations that send business to your hotel. Build the account first, then connect contacts, groups, and functions to keep the relationship visible.
Best for
Sales and catering teams
Time
3–5 minutes
Outcome
A searchable account ready for related records
Before you start
- Access to Sales → Accounts
- The company or organization name and primary contact details
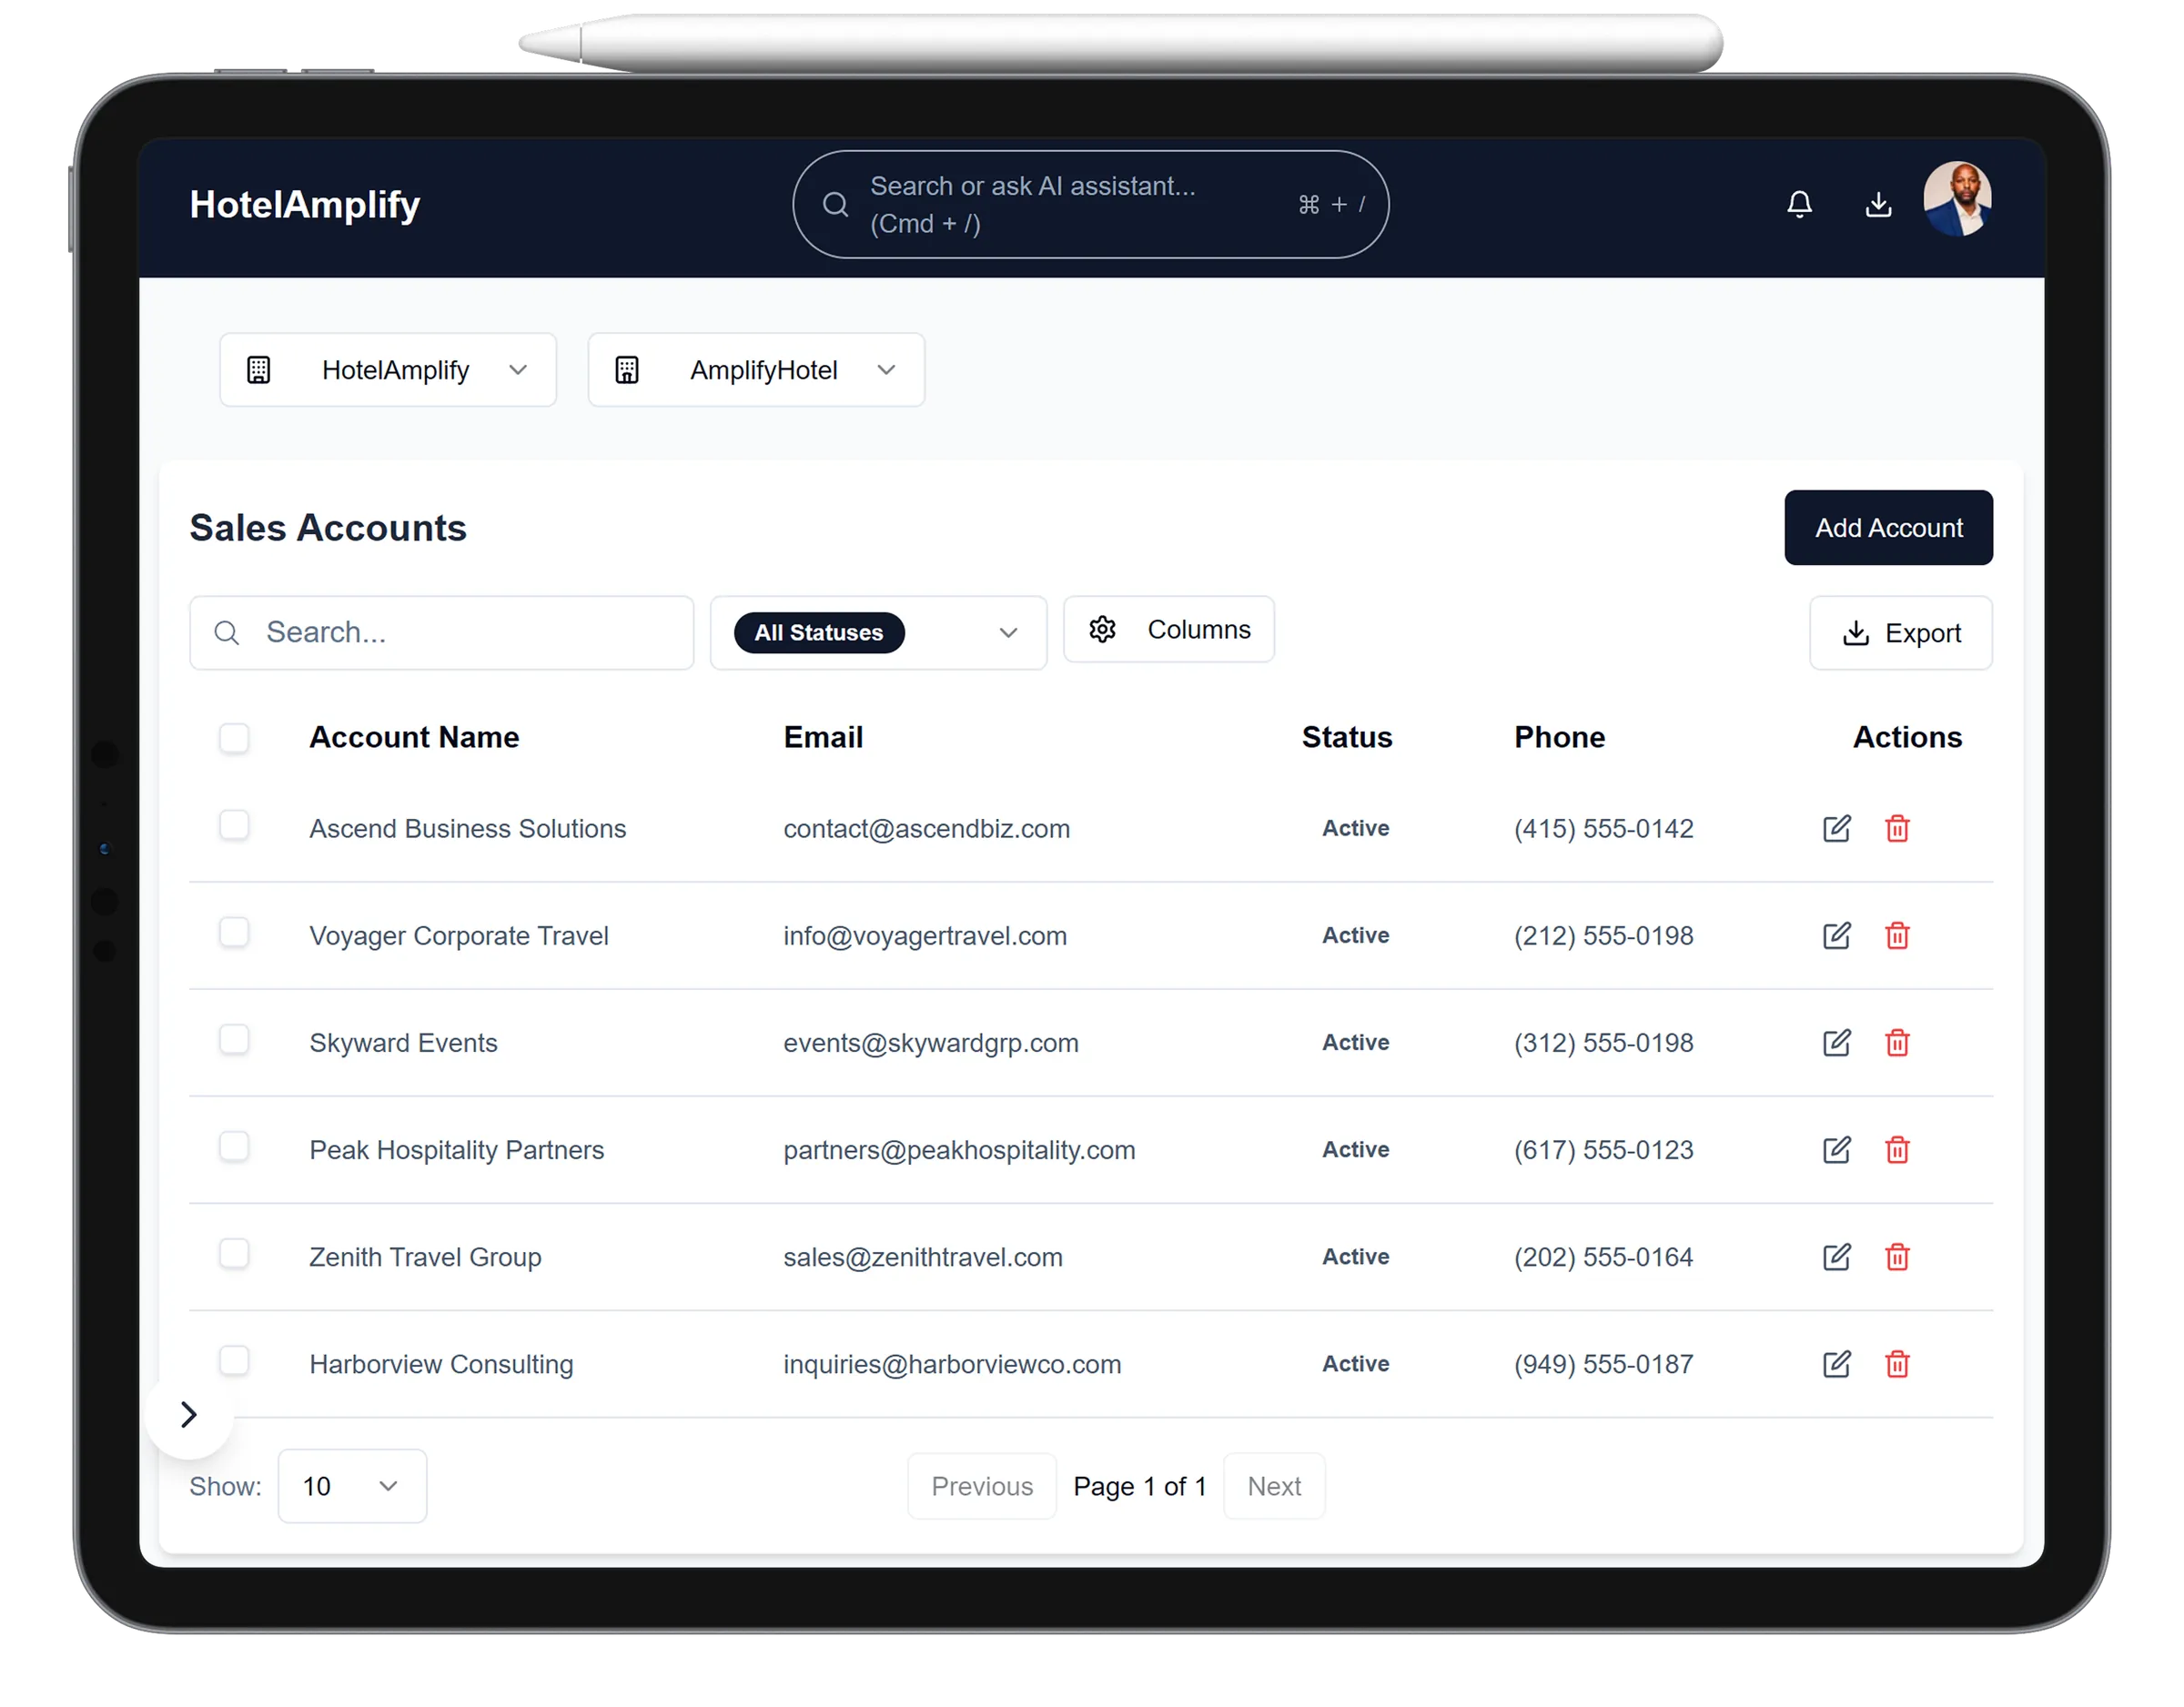
Create the company record before adding people, groups, or event functions so related work stays connected.
Open in HotelAmplifyWhat an account represents
An account can represent a corporate client, association, wedding planner, tour operator, or another organization that sends business to your hotel. Contacts, group blocks, and functions can link back to it.
Create an account
Open the Accounts workspace
Go to Sales → Accounts and select Add Account.Add the organization details
Enter the required Account Name, then add the account's Email and Phone when available.Set status and ownership
Choose Active, Inactive, or Pending, then assign a Salesperson so ownership is clear.Save useful context
Add Notes such as preferred rates, booking history, or special requirements, then save the account.
Keep the account useful
Open an account row to review and update its details. The account record can connect the people and business activity your team needs to see together:
- Contacts: individual people associated with the organization.
- Groups: room blocks booked under the account.
- Functions: meetings and events tied to the account.
Find or export accounts
Use the search box to match account name, contact person, or email. Use the status dropdown, visible columns, and pagination controls to focus the list. The Export action supports PDF, Excel (XLSX), or CSV and respects the current search and status filter.
You'll know it's done when
The account is easy to find, has a clear owner and status, and is ready for contacts or group activity to be linked to it.
When to deactivate instead of delete
Deleting an account is permanent. If the relationship may be needed for history later, set the account to Inactive instead.